
WHEN TO ROOF A HOUSE?
If you’re a DIYer, aim to work during favorable weather conditions. Warm and dry days, typically in the summer, provide the best environment for roofing. However, always check the 10-day weather forecast before starting to avoid unexpected weather. Avoid working in extremely cold conditions, as the asphalt adhesive on the shingles will not stick properly if it’s near or below freezing. Click here more about wortham roofing in dallas
STEP BY STEP ROOFING INSTRUCTIONS
- Assess Roof: Replace or Re-Roof: You have two main options: replace the entire roof or re-roof over existing shingles. With a full replacement, you remove the old shingles and repair any damage underneath.
- Obtain Permits: Depending on where you live, you may need a building permit. Some areas allow re-roofing without a license, while others require it due to the additional weight of the new shingles.
- Prepare the Work Site: Cover nearby plants with plastic sheeting to protect them. Set up a designated area for debris and consider renting a roll-off dumpster to dispose of the old shingles.
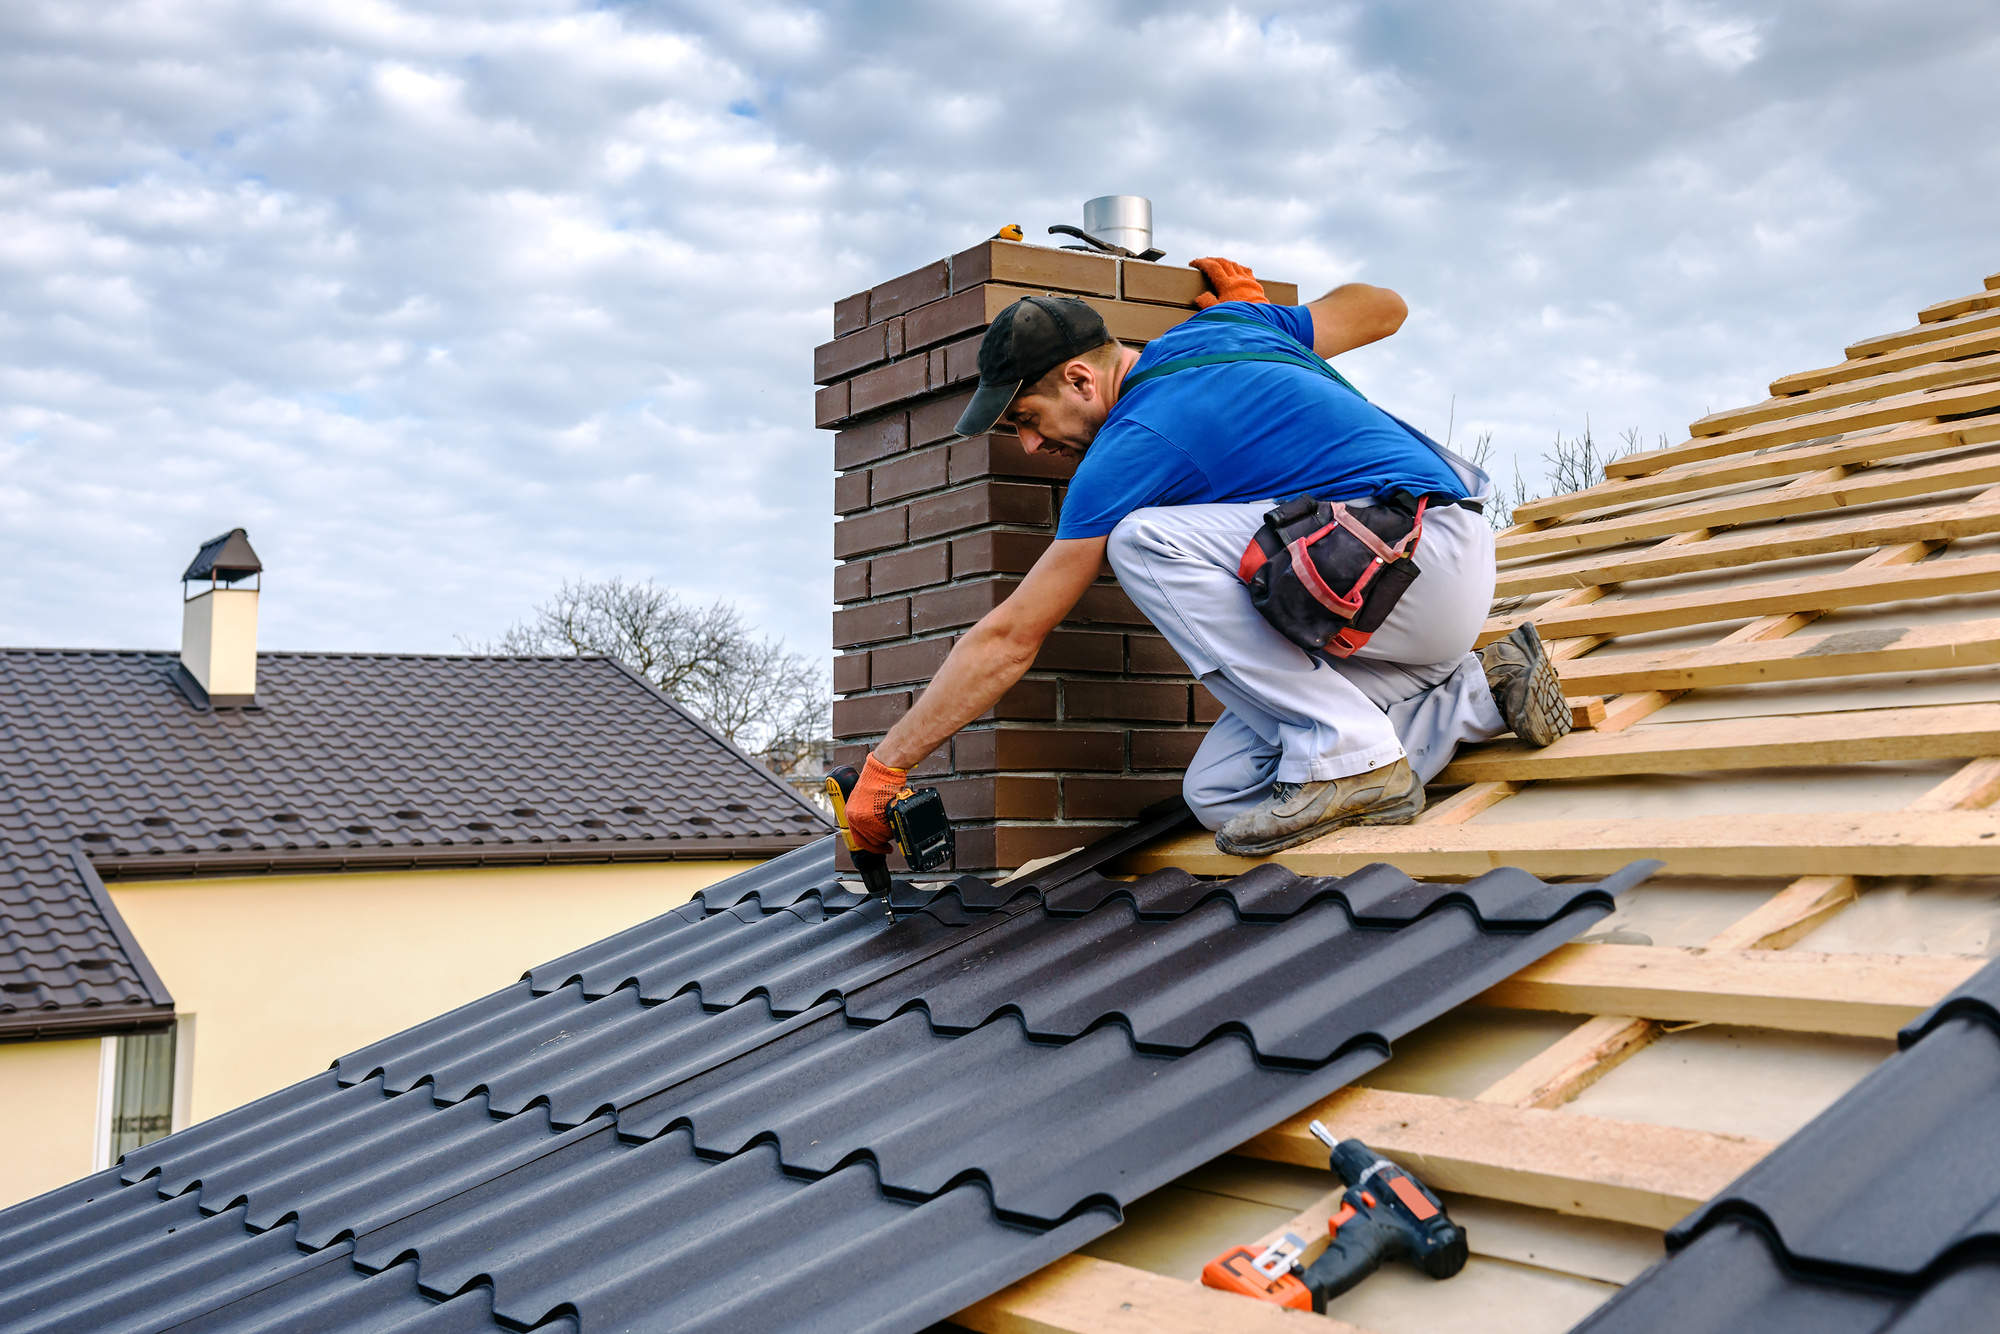
- Remove Old Shingles and Felt Paper: Start at the roof ridge and use a pry bar or roof shovel to remove the ridge cap and shingles. Work downwards, pulling up both the felt paper and shingles, and clear them away immediately for safety.
- Install Drip Edge: Nail the drip edge to the roof’s edge, leaving a gap of about 1/2 inch between the roof deck and the drip edge. This helps water flow into the gutters and protects the fascia board.
- Install Roofing Felt: Lay down the felt paper starting at the bottom edge of the roof and overlapping by at least 4 inches with each row. Secure it with roofing nails.
- Install Ice Protection Underlayment: In cold climates, apply an ice protection underlayment along the roof’s lower edges. This prevents water from leaking under the shingles when snow and ice melt.
- Shingles Delivery: Ideally, have the shingles delivered to the roof after the felt paper is installed. This saves you from hauling heavy shingle bundles (about 70 pounds each) up to the roof.
- Mark Starter Strip Location: Measure and mark a line 11 3/4 inches from the edge of the roof to place your first row of shingles.
- Install Starter Shingle Strip: Cut off the tabs from the first row of shingles and place them along the marked line. Let the shingles hang 1/4 inch over the drip edge, and secure them with nails.
- Install Second Shingle Roof: Cut the first shingle in the row to achieve the offset. This prevents the tabs from lining up in consecutive rows, which could weaken the roof.
- Continue Installing Shingles: Work your way up the roof, overlapping each row by 6 inches. Continue until you reach the ridge of the roof.
- Complete the Other Side: Repeat the process on the other side of the roof. Both sides must be finished before installing the roof ridge.
- Install the Roof Ridge: Use the leftover shingle tabs to create the roof ridge. Fold the tabs over the peak and nail them down, overlapping each one to ensure proper sealing. Apply roofing adhesive to the nail heads for extra protection against water.
Wortham Brothers Roofing Dallas
Email: office@wbroofing.com
Phone: 214-971-8838
Url: https://wbroofing.com/
325 North St. Paul Street Suite 3100
Dallas, TX 75201


Comments